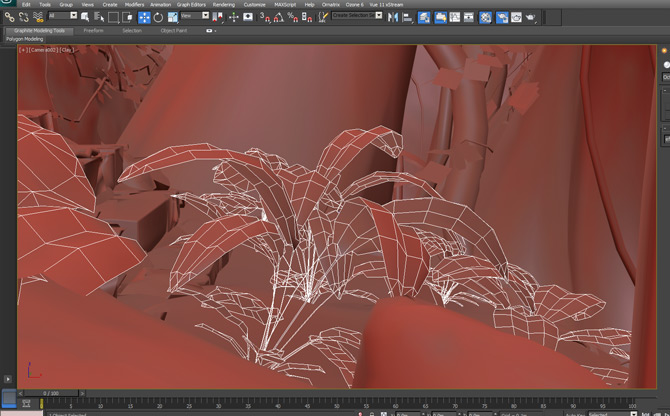
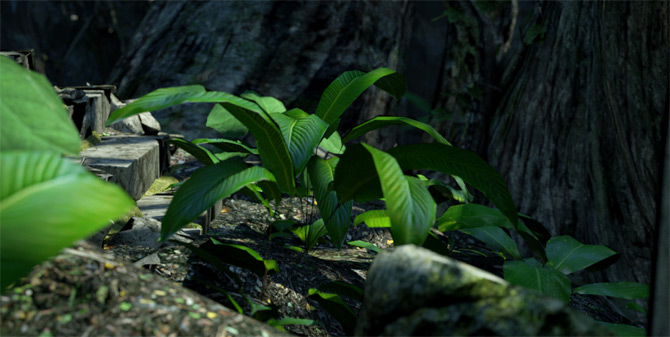
Concept Cinematic created with 3DS Max, Rendered with Octane, Post Production done with Adobe After Effects
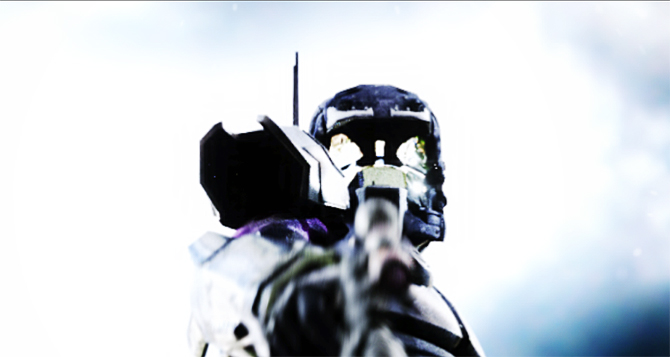
Concept Cinematic created with 3DS Max, Rendered with Octane, Post Production done with Adobe After Effects

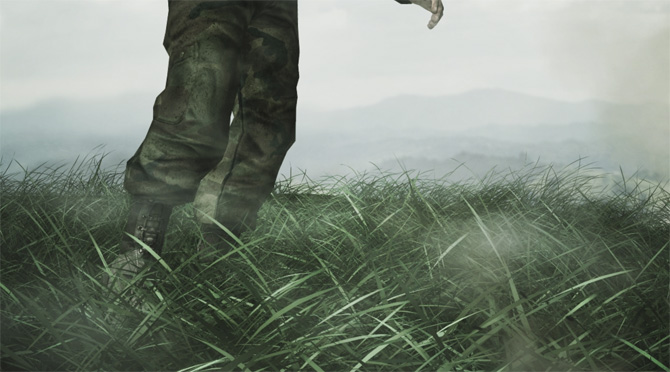
This is my quick highlight of the “Make Collide” feature that was added to Autodesk Maya 2014. This makes collision of paint effects with any model much easier. In this particular demo, I tested grass colliding with an animated character of a limping soldier’s leg and boot. I can see this opening up so many possible applications ie, tires driving through a field, soccer balls rolling through grass etc…
Check out the video below
This is a concept sketch I drew from an idea that was floating in my head about an African Super Hero and Space Traveler I used Colored pencils for the coloring and 2 Staedtler Pigmented Ink drawing pens.. 0.1 for the finer lines and 0.7mm for the bolder lines.
Concept Character ~ Semi Final Look
This is the drawing stage before scanning into Photoshop.
Early Stages of Drawing
So I have been tinkering with this home made head mounted camera rig, that I have been using to capture the Facial Performance for the Characters both in the Galiwango film (http://www.galiwango.com/) and the Nkoza and Nankya TV series (http://www.nkozaandnankya.com/episode-1-nkoza-nankya )
I wasn’t too happy with the durability and ease of use of the first build (you can see that here: http://www.galiwango.com/2012/11/05/custom-head-mounted-camera-rig-for-facial-performance-capture/), so I made some adjustments. I went to the Dollar store and purchased 4 lights, each $1 Dollar, I also visited Staples and purchase a $24 dollar Smart Phone Car holder (total expenditure $28 Dollars.)
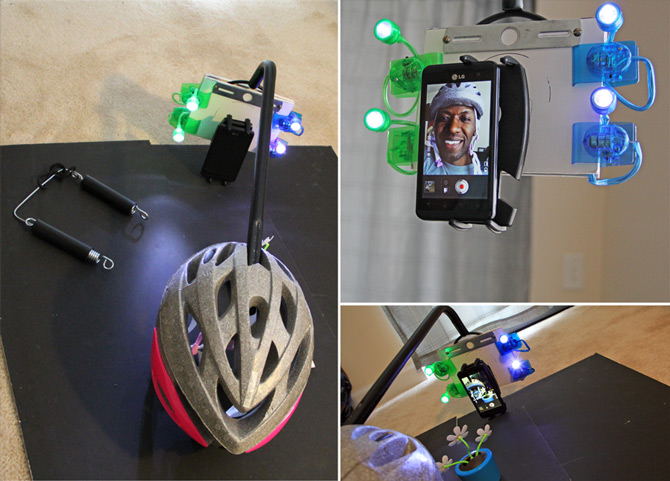
Below are the steps I took to upgrade the part that holds the Camera that points towards the Face.
Step 1.
Step 2.
Step 3.
Step 4.
Step 5.
Step 6.
Step 7.
Step 8.
Step 9.
Step 10.
Step 11.
Step 12.
Step 13.
Step 14.
Step 15.
Step 16.
Step 17.
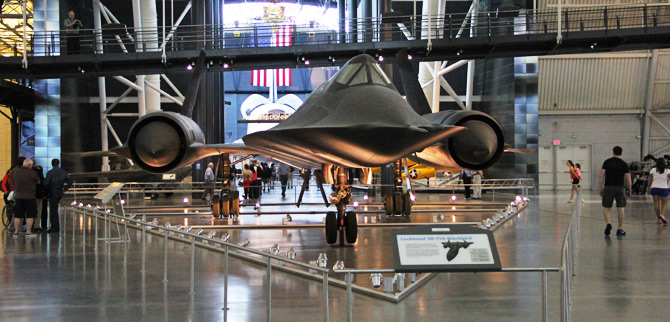
This is a collection of Panoramic Photos I took during a field trip with my kids to learn about the history of flight, and to check out the famous Black Bird featured in Transformers 3, as a Decepticon. They totally loved the experience. The Smithsonian Institution did an awesome job of blending the Transformers Movie theme with the real spy plane. I have also added some still photos that I found rather fascinating.
NOTE: To view the Panorama, simply place your mouse over the photo and move the Cursor either left or right to see the rest of the wide angle image. Click on the Image to View a Larger Version
Space Shuttle Discovery ~ Panorama (Please Credit me if you wish to use this photo)
[photonav url=’/wp-content/uploads/2013/04/shuttle_Panorama_solomon_w_jagwe_02.jpg’ popup=colorbox]
Space Shuttle Discovery (Orbiter Vehicle Designation: OV-103) is one of the retired orbiters of the Space Shuttle program of NASA, the space agency of the United States,[4] and was operational from its maiden flight, STS-41-D on August 30, 1984, until its final landing during STS-133 on March 9, 2011. Discovery has flown more than any other spacecraft having completed 39 successful missions in over 27 years of service.
Lockheed SR-71 “Blackbird” ~ Panorama (Please Credit me if you wish to use this photo)
[photonav url=’/wp-content/uploads/2013/04/black_bird_spy_plane_solomon_w_jagwe_00.jpg’ popup=colorbox]
The Lockheed SR-71 “Blackbird” was an advanced, long-range, Mach 3+ strategic reconnaissance aircraft.[1] It was developed as a black project from the Lockheed A-12 reconnaissance aircraft in the 1960s by Lockheed and its Skunk Works division. Clarence “Kelly” Johnson was responsible for many of the design’s innovative concepts. During reconnaissance missions the SR-71 operated at high speeds and altitudes to allow it to outrace threats.
Lockheed SR-71 “Blackbird” ~ Still Photo, Non-Panorama (Please Credit me if you wish to use this photo)
Here is a new Concept character I drew during my 3D animation break. I needed a break from staring at the screen, so I grabbed my pencils and sketchbook, and drew away. I will be refining him and coloring him when I get a breather, and hopefully create a 3D model of him.
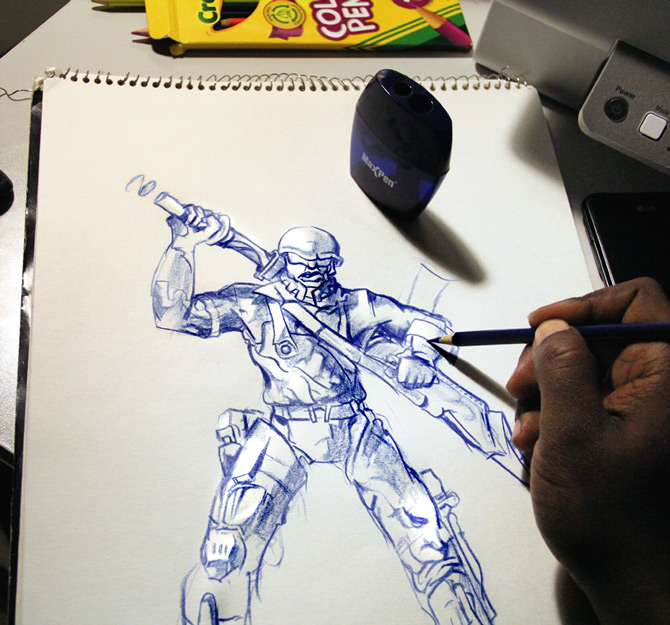
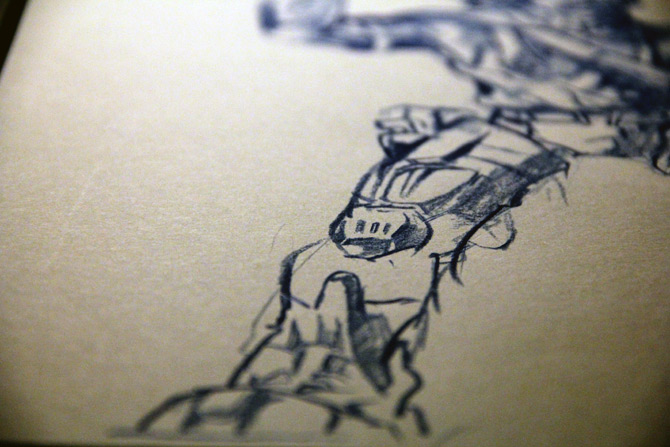
Detailing. I am using colored pencils for the initial stage.
Here is another Octane test of a BMW I did using 3DS Max. I used Octane’s built in Daylight system for the lighting. The average render for each frame set at 1280×720 at 30fps, was 1:29 minutes (I minute and 29 Seconds) I am using a Geforce GT 640 graphics card for the real-time render ~ the Card has 2GB of graphics Ram.
Here is another Octane test I did using 3DS Max. This scene has no lights, all the lighting information is gathered from the Environment Map, which is set as a Texture Environment in the Octane Render settings. All the maps have also been converted from standard Mental Ray Maps to Octane maps. I used a combination of Specular and Diffuse maps. The reflections are captured nicely, I am so loving these Shaders and the built in Ambient Occlusion mode.
This is the finished Render
Here is the Wireframe of the Scene inside of 3DS Max.
This is a scene I set up in 3DS Max 2013, and rendered with the Octane 1.0 realtime renderer from OTOY. I am amazed at how much real time render engines are improving. I used one single daylight, light, and made some edits to the maps; Octane offers a button to convert all the textures in a scene to Octane compatible shaders, but some slots are not taken into consideration so I had to add the texture maps for the Specular slot and normal map slot. I am impressed by the results.
Here is the real time render from Octane:
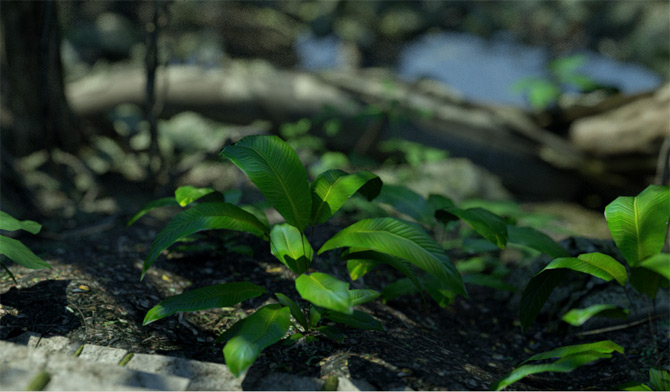
This is another shot from a different camera:
Here is the wireframe of the scene in 3DS Max 2013.
