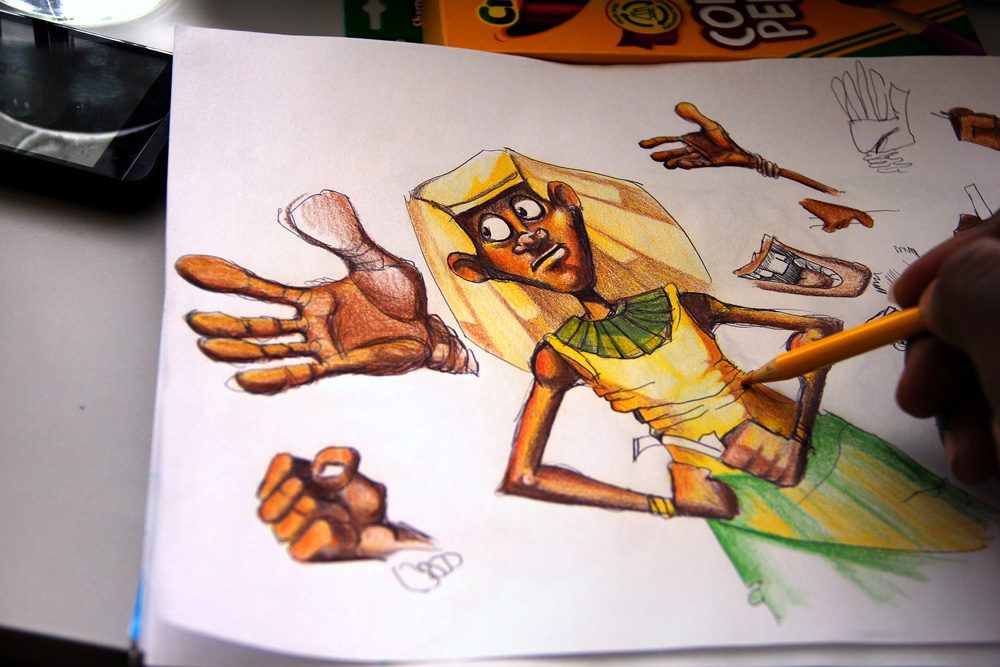
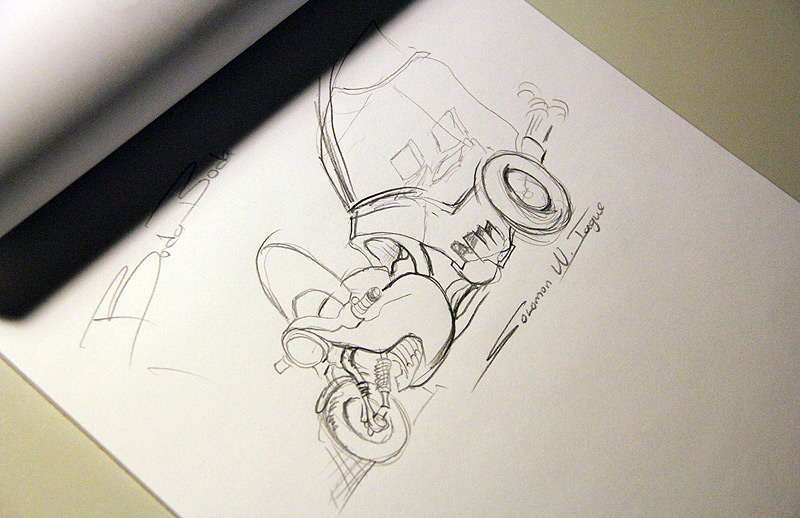
This is a quick sketch I drew during my lunch break, away from rendering scenes for the Nkoza and Nankya TV series. I find it rather therapeutic to draw, helps me clear my mind, especially when software is refusing to work the way it should ~ pencils never disappoint 🙂
Category Archives: Tutorials
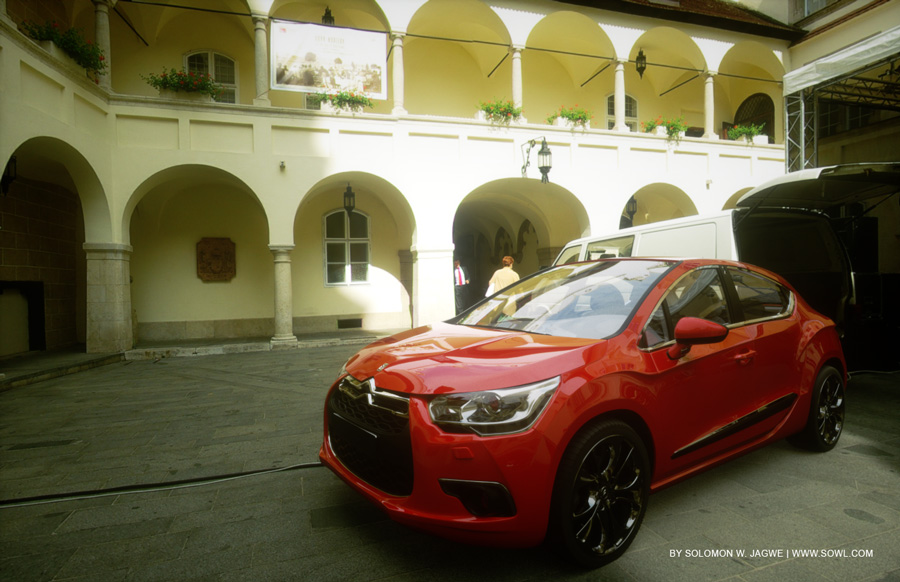
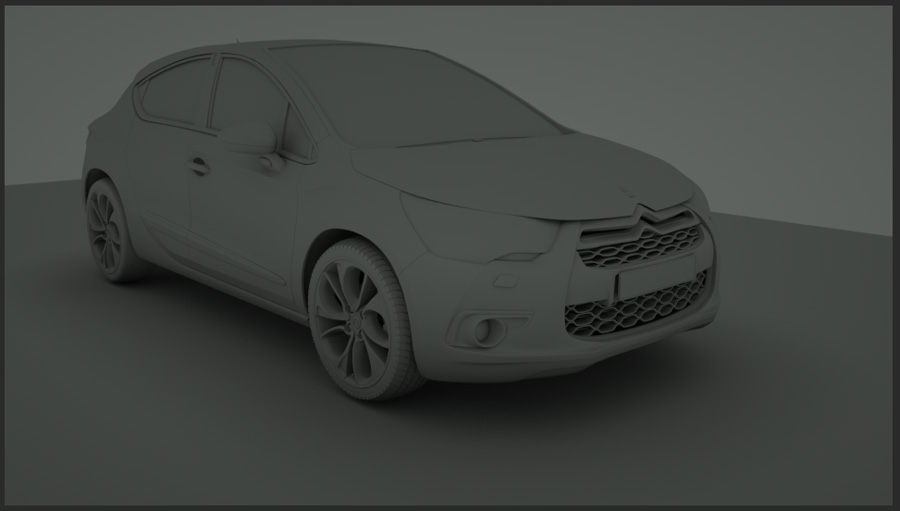
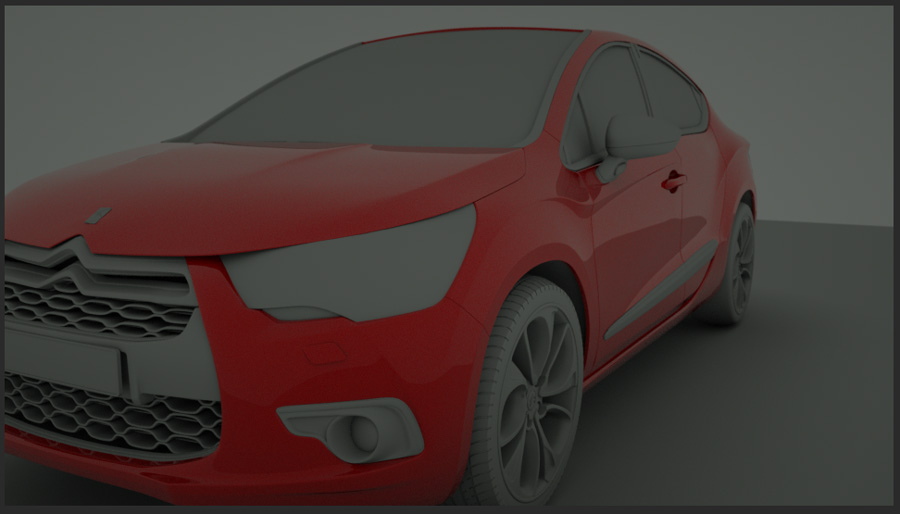
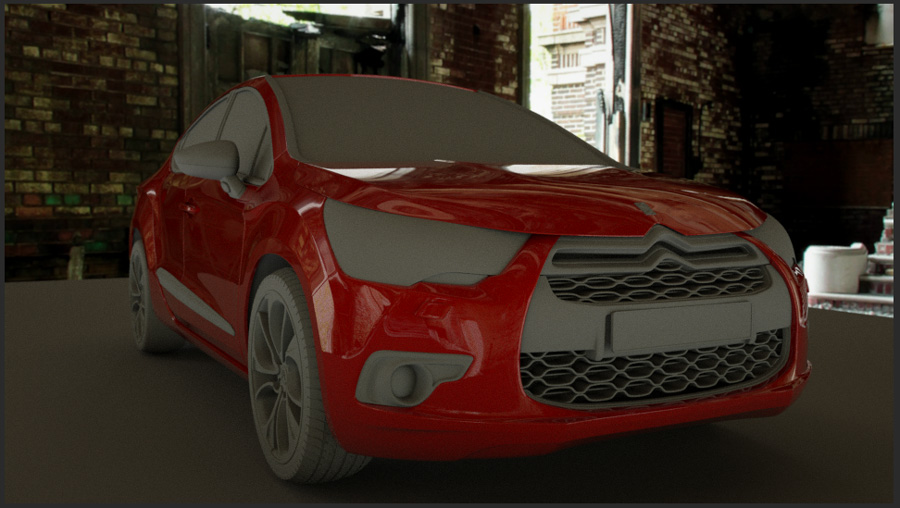
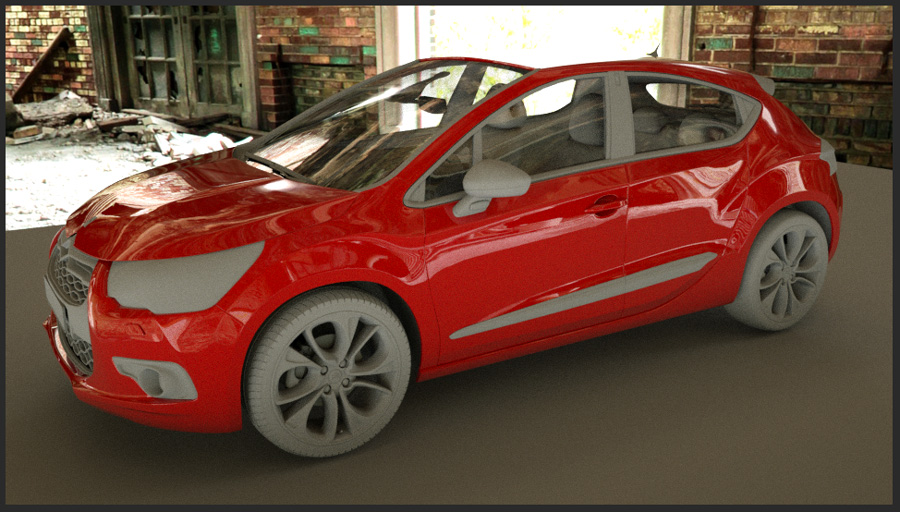
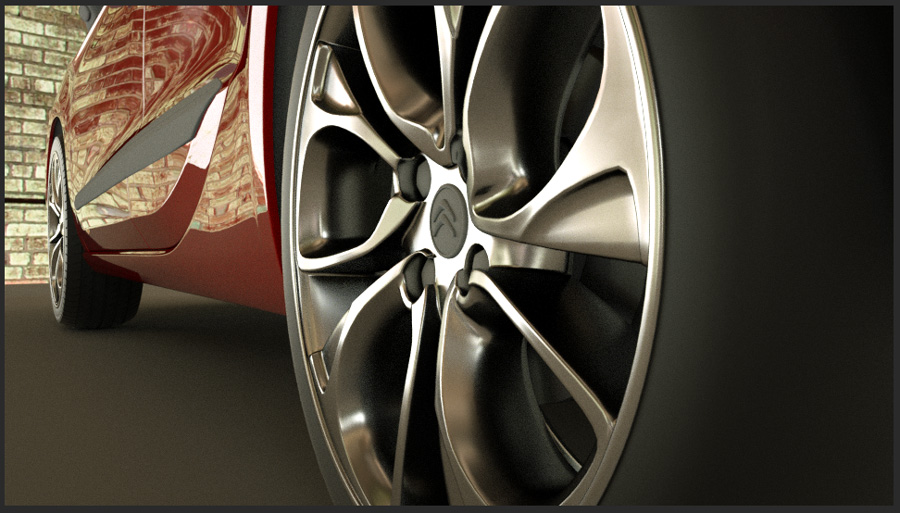
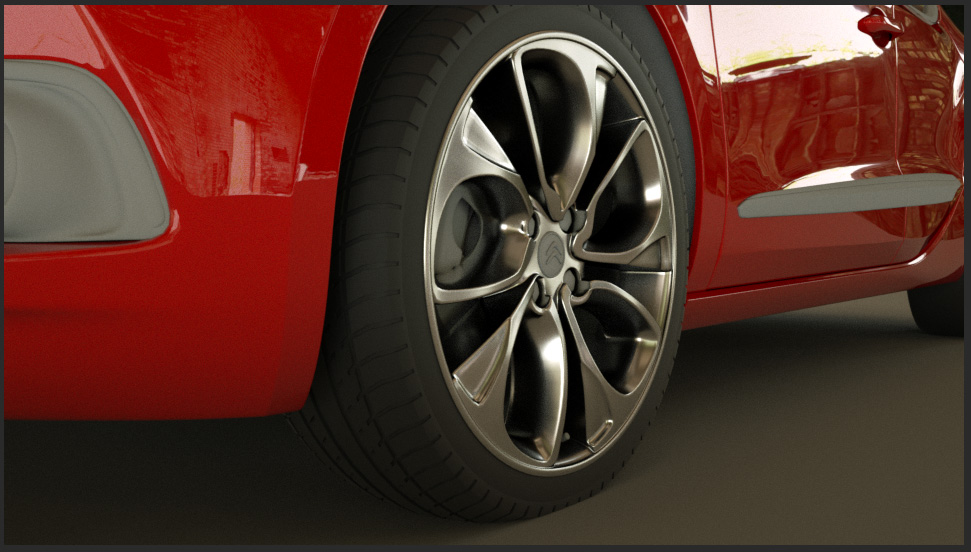
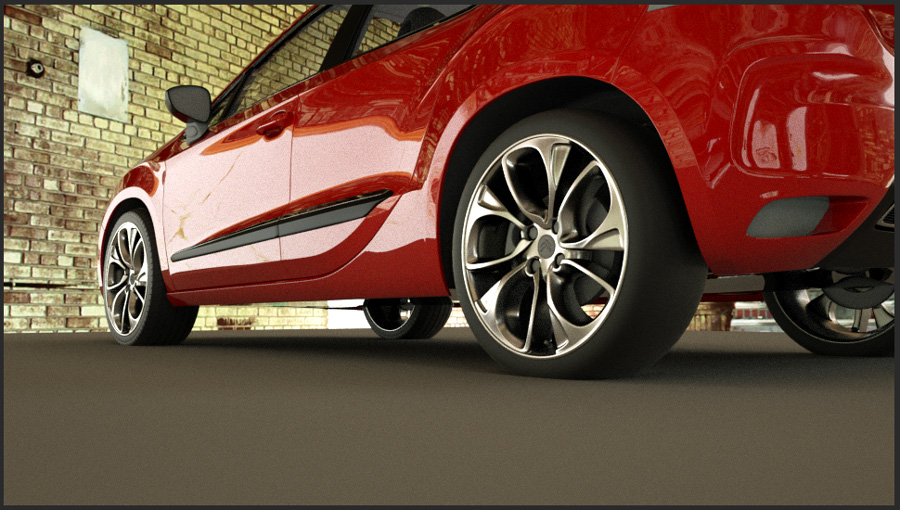
Citroen Concept Render, Lighting & Texturing in Maya
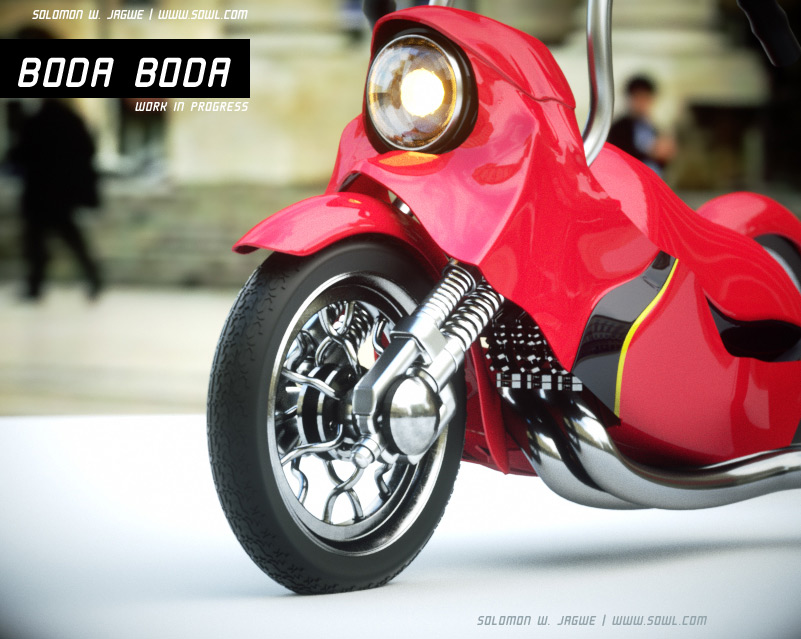
Boda Boda, Re-Imagined in 3D
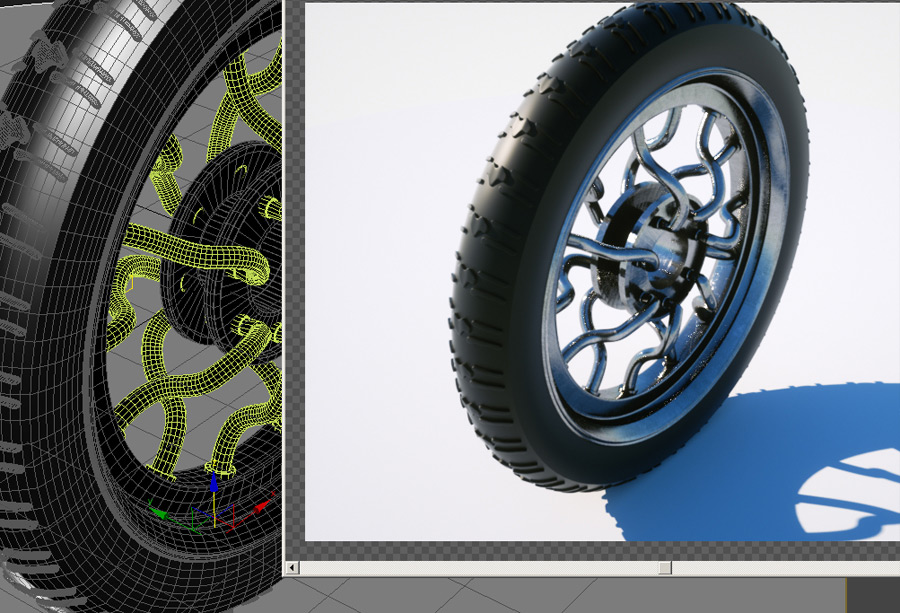
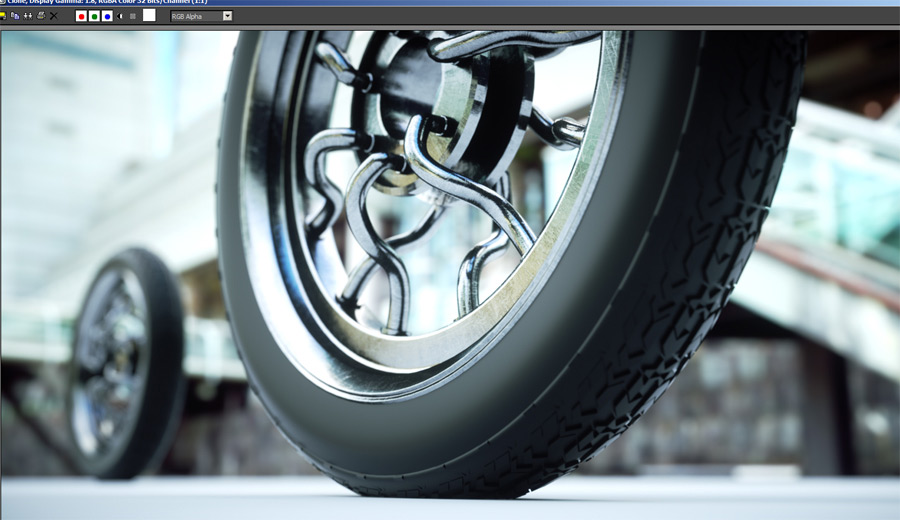
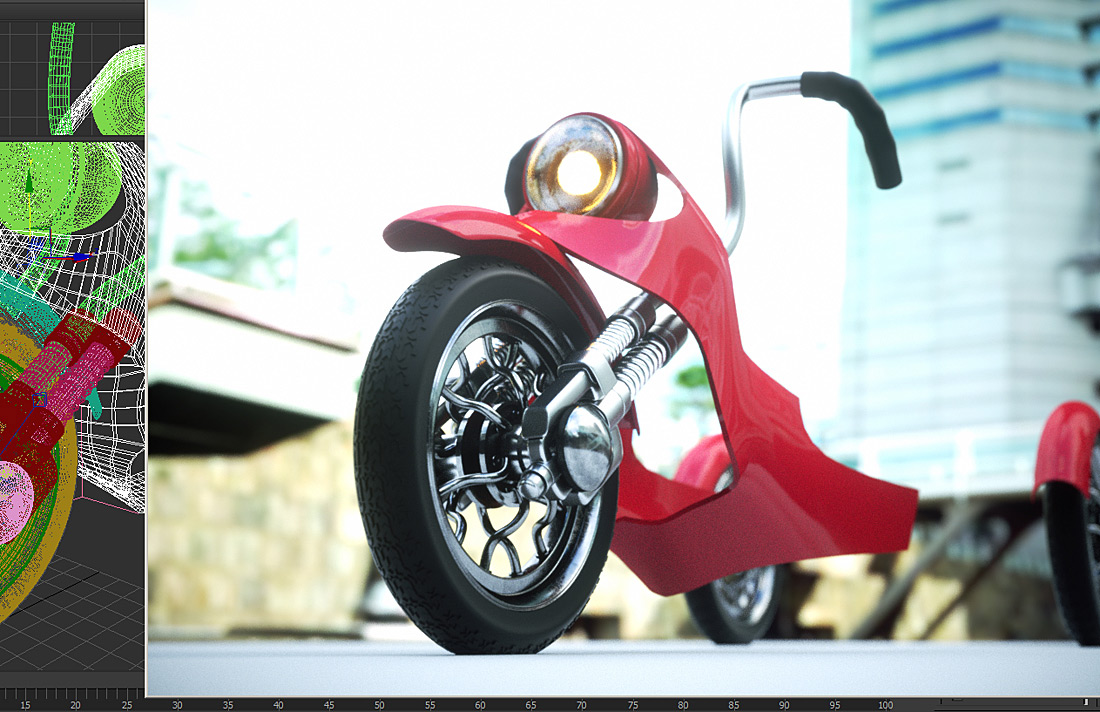
I am working on this Boda Boda concept model, imagining a time when Uganda will have safer means of transportation, and offer more comfort to Boda Boda riders and Passengers. Check out the progress so far.
Initial Sketch ~ just a quick drawing to get me started in the direction I want to go.
Recent Modeling Progress
Check out some more Earlier 3D modeling Steps below
Maya 2014, Make Collide Feature Highlight
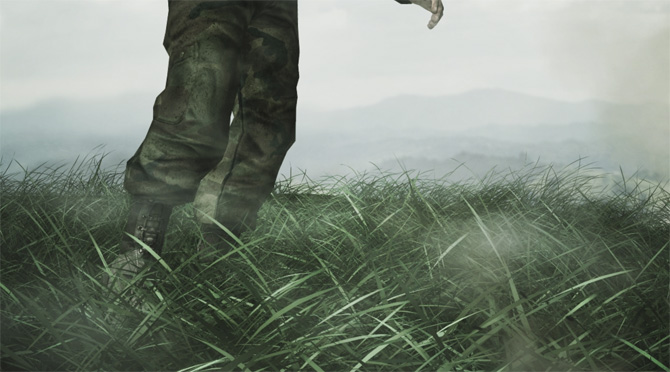
This is my quick highlight of the “Make Collide” feature that was added to Autodesk Maya 2014. This makes collision of paint effects with any model much easier. In this particular demo, I tested grass colliding with an animated character of a limping soldier’s leg and boot. I can see this opening up so many possible applications ie, tires driving through a field, soccer balls rolling through grass etc…
Check out the video below
Head Mounted Camera Rig Upgrade ~ Facial Motion Capture
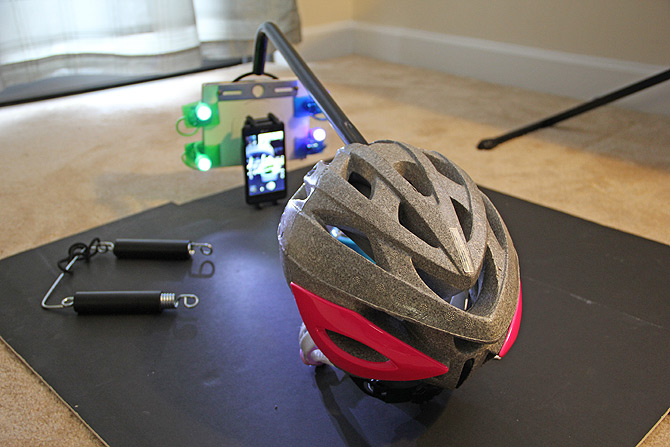
So I have been tinkering with this home made head mounted camera rig, that I have been using to capture the Facial Performance for the Characters both in the Galiwango film (http://www.galiwango.com/) and the Nkoza and Nankya TV series (http://www.nkozaandnankya.com/episode-1-nkoza-nankya )
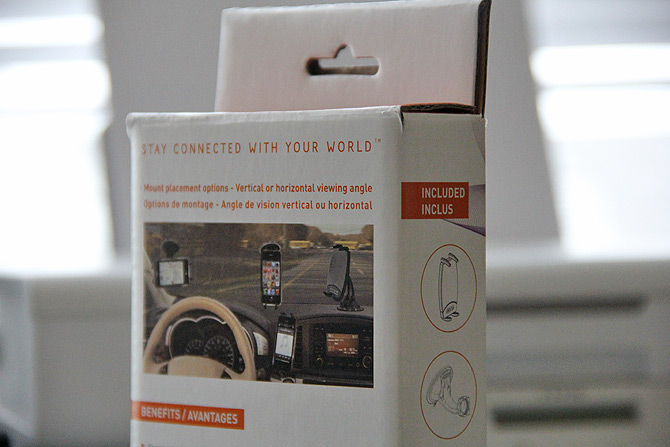
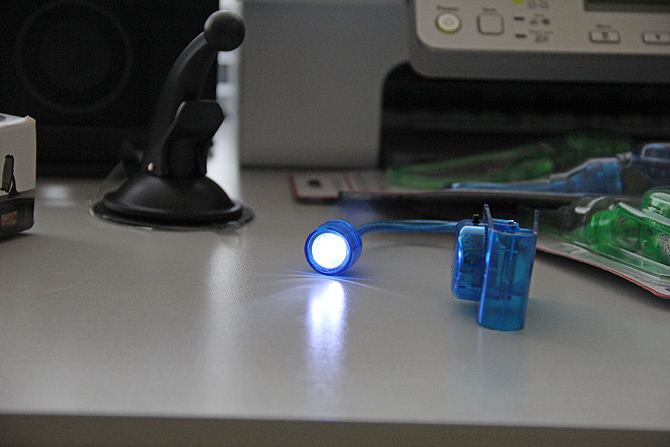
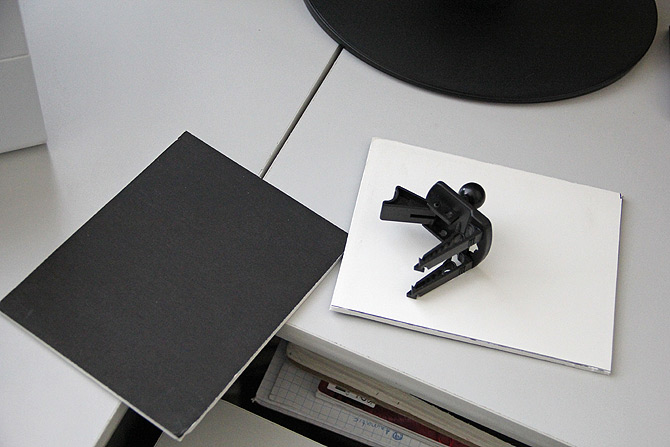
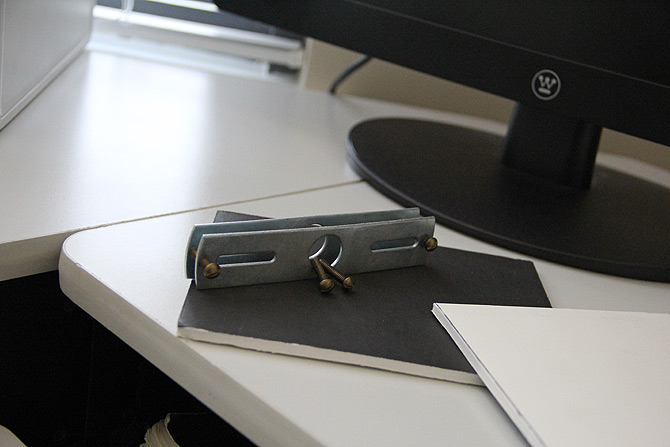
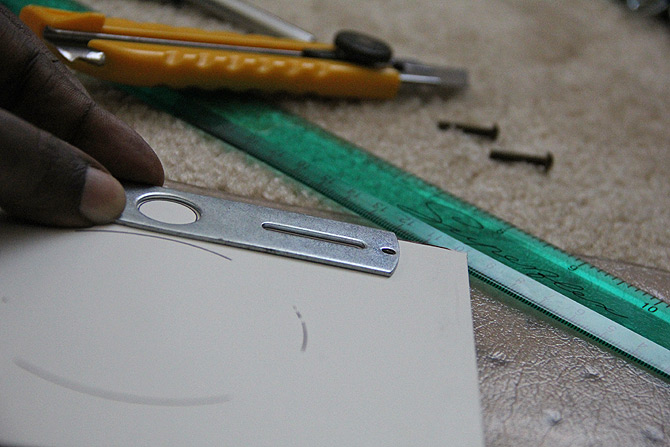
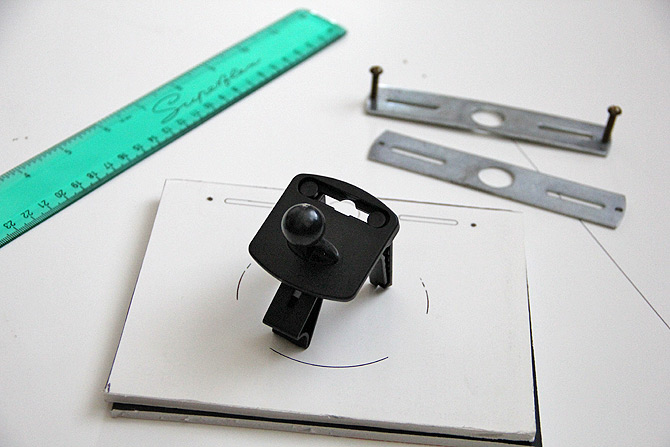
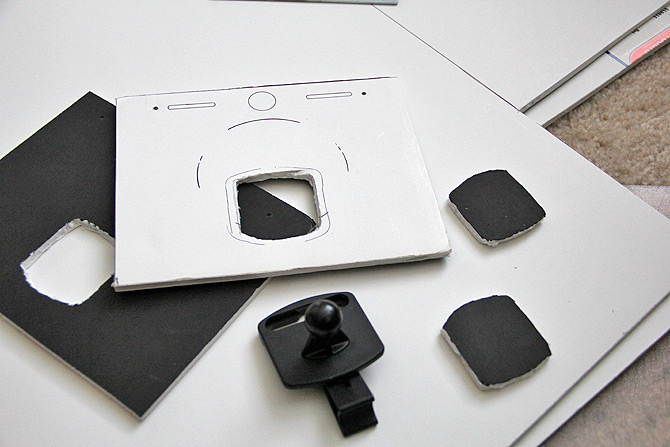
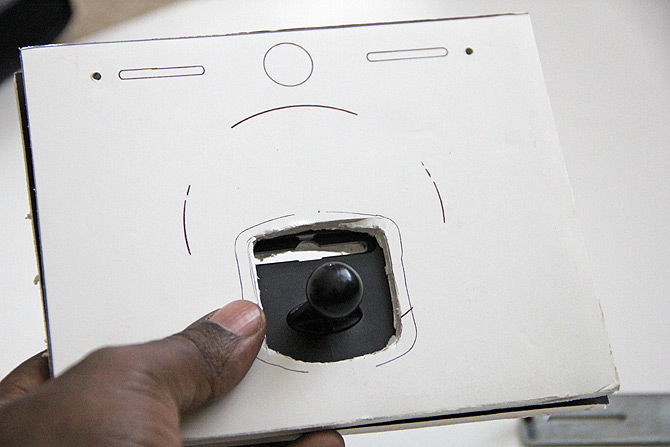
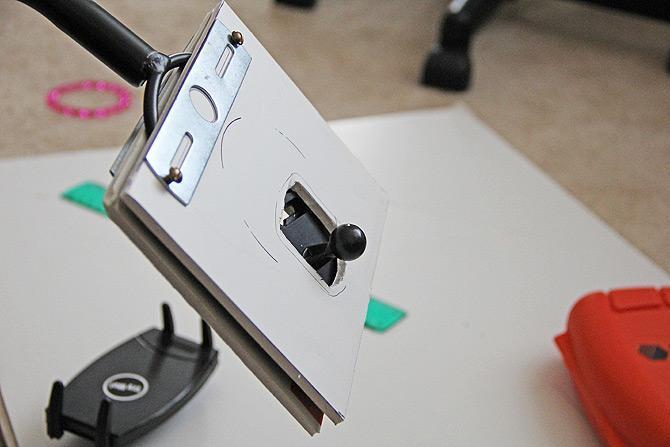
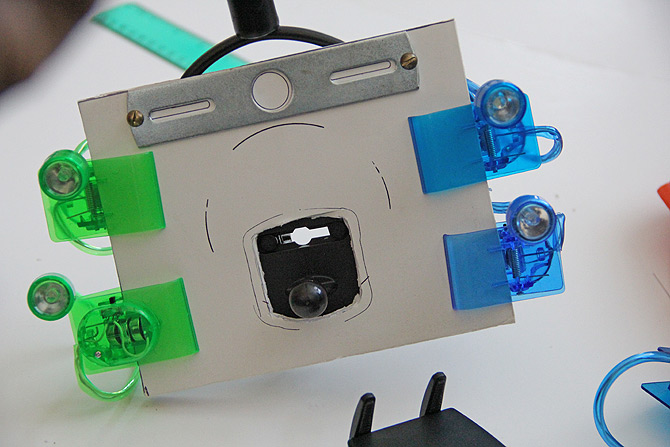
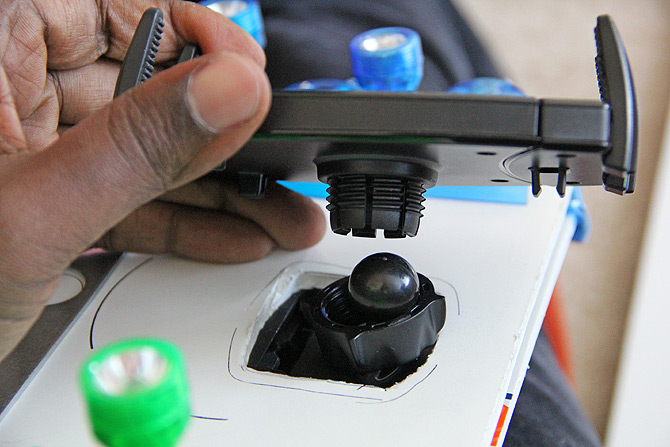
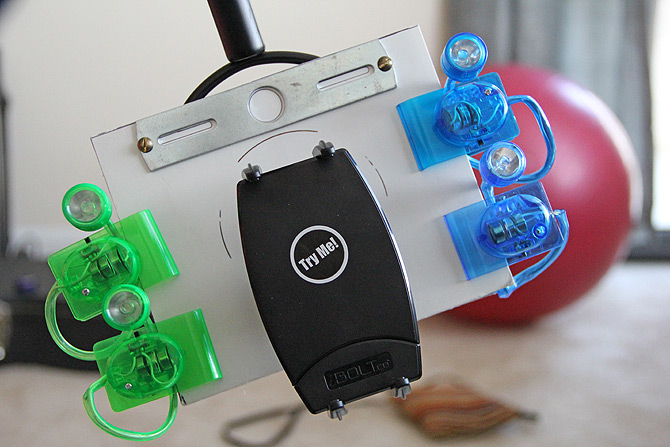
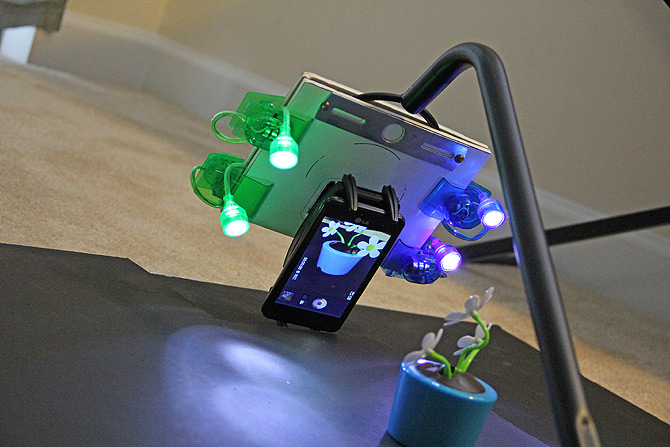
I wasn’t too happy with the durability and ease of use of the first build (you can see that here: http://www.galiwango.com/2012/11/05/custom-head-mounted-camera-rig-for-facial-performance-capture/), so I made some adjustments. I went to the Dollar store and purchased 4 lights, each $1 Dollar, I also visited Staples and purchase a $24 dollar Smart Phone Car holder (total expenditure $28 Dollars.)

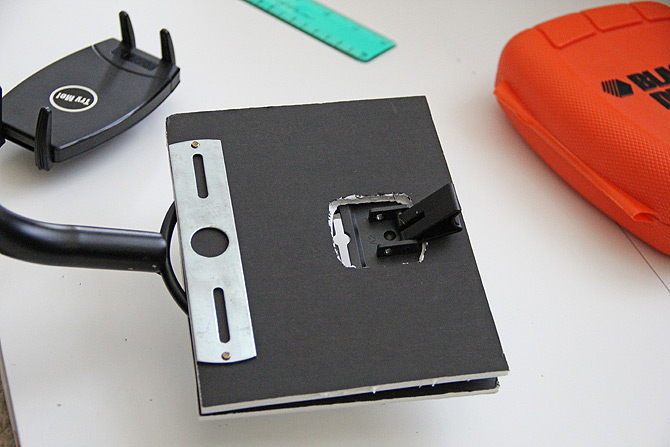
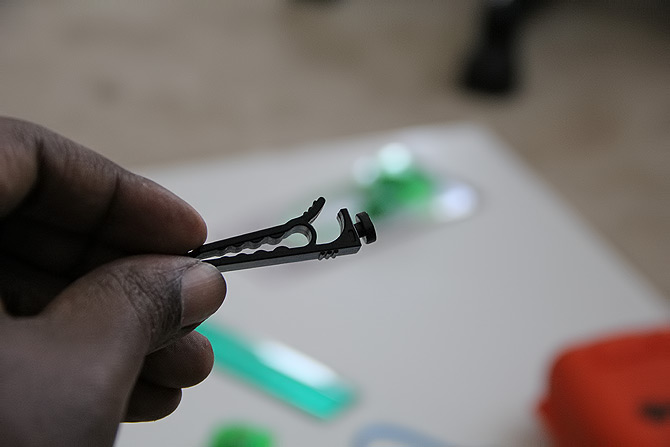
Below are the steps I took to upgrade the part that holds the Camera that points towards the Face.
Step 1.
Step 2.
Step 3.
Step 4.
Step 5.
Step 6.
Step 7.
Step 8.
Step 9.
Step 10.
Step 11.
Step 12.
Step 13.
Step 14.
Step 15.
Step 16.
Step 17.
Zbrush Modeling Tutorial Using Dynamesh
This is a quick time lapse video showing how I created this 3D Concept Sculpt using Dynamesh in Zbrush 4R5. I have always enjoyed modeling in previous versions of zbrush, but I must say that this recent update has really made the process even more exciting.
Dynamesh, in my opinion, gets me closer to the feeling of freedom I get when working with real clay. I use the quick shortcut of holding down the SHIFT key and Dragging in an empty space away from the model, to polish up the mesh when it gets stretched from all the clay additions.
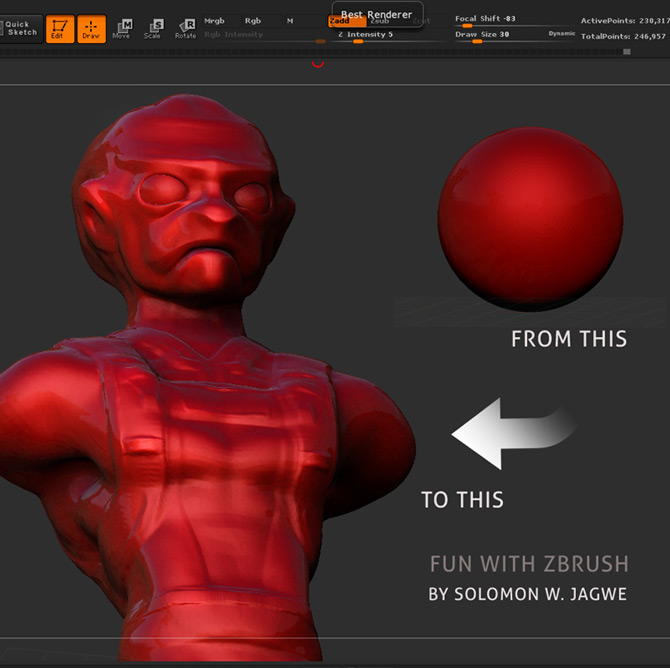
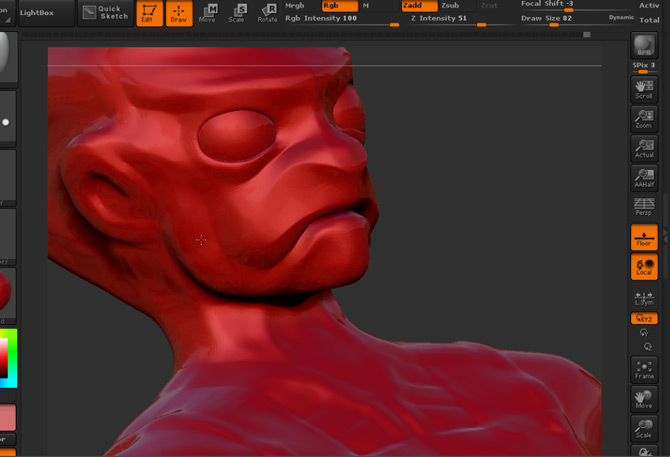
My tools of choice include the following brushes: Clay, ClayBuildup, MaskPen, Move, Polish, TrimAdaptive, and TrimDynamic. I mix the brushes as I work, but using Claybuildup as the primary tool, and the smooth brush to refine areas that get a little gnarly.

I really love the TrimAdaptive and the TrimDynamic brushes. Those two make it so easy to add nice edges, especially for hard surface modeling.
“Toxic Planet,” a 3D Cinematic for Mixamo Inc.
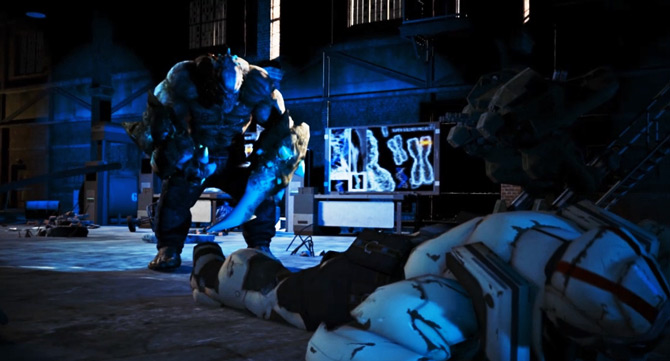
This is a recent, Rapid turn around, 3D cinematic I created for Mixamo Inc (www.mixamo.com), a Motion Capture Studio based in San Francisco, and Autodesk (http://usa.autodesk.com). The workflow includes use of the Autodesk animation Store, which is built into 3DS Max 2013, and motion builder. Mixamo needed a demo of the workflow on how an independent film could use their store, and so they approached me to create the cinematic. I enjoyed every moment of it and truly treasure the partnership and working relationship I have developed with their Motion Capture team, with Nateon Ajelo as the Motion capture Director.
Below is a Video interview of the process I went through to create the Cinematic.
Here is the Final Render. For rendering I used the Nitrous, the Realtime Renderer built into 3DS Max, and an invaluable tool called Power Preview ~ incredibly the renders took 30 seconds per frame.
To learn More about our the Autodesk Animation Store visit: autodesk.mixamo.com. Check out Mixamo’s 3D characters, and find out how to upload your own, learn about about rigging or animating using one of our thousands of motions on www.mixamo.com
Here are some wireframe screen grabs from Motionbuilder.
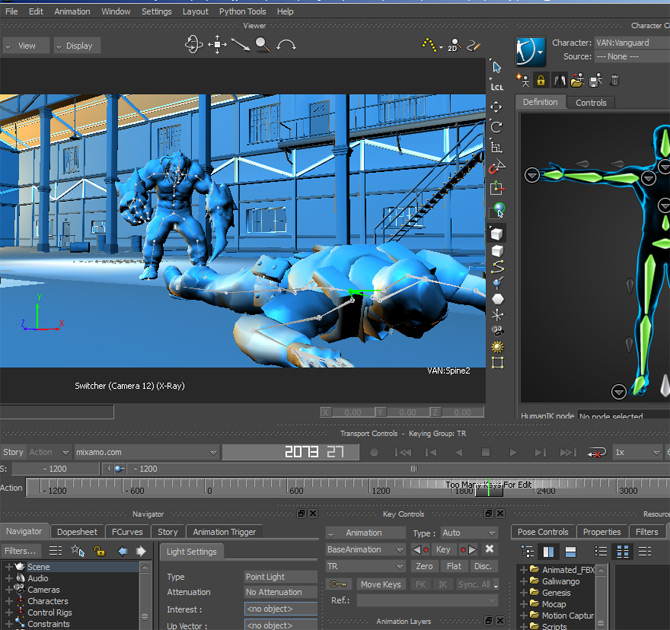
Wireframe screen grab from 3DS Max:
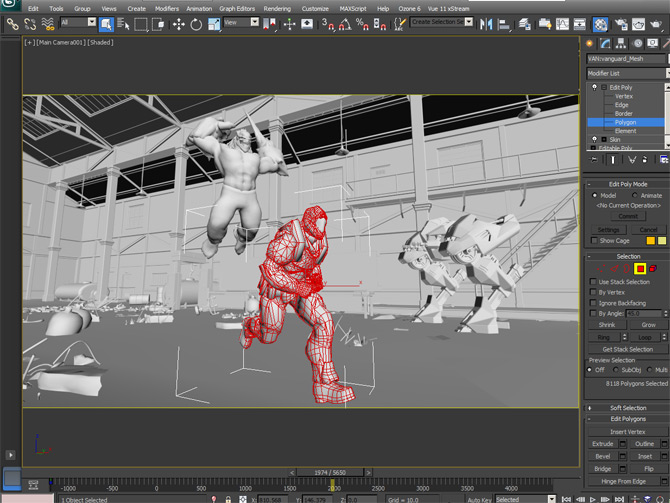
Autodesk Sneak Preview Release: 3DS Max 2013 Hair and Fur Improvements

VIDEO ~ Autodesk Sneak Preview Release: In this video Solomon Jagwe shows the new 3ds Max 2013 enhancements to Hair & Fur from the customer’s perspective and how he’s been able to apply it to recent work completed for a Mountain Gorilla Conservation Film.
MACHINE SPECS: I used an ATI Radeon HD 5700 Series which has 1GB of Dedicated Graphics Memory, and my machine specs are 64Bit Dell Studio XPS 8100, i7 CPU 860 @2.80GHz 2.80GHz, with 8GB of RAM
You can see more images from the Fur and Render improvements here: https://www.sowl.com/2012/02/galiwango-film-reload-3d-model-update/
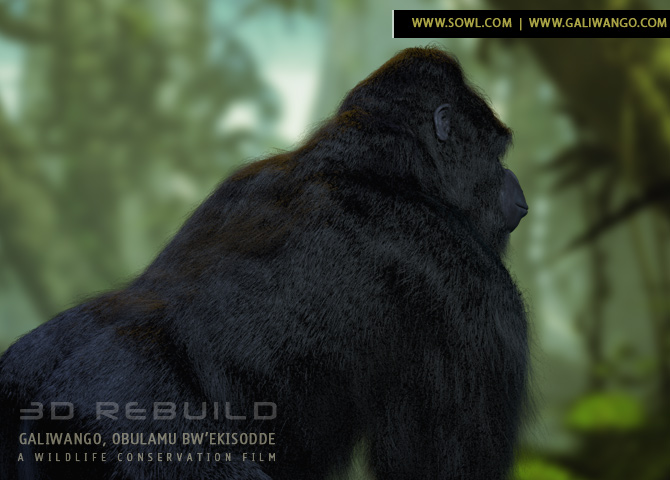
Autodesk Sneak Preview Release, Nitrous Accelerated Graphics Core

Autodesk Sneak Preview Release: This video shows current research related to the Nitrous accelerated graphics core. The goal is to shorten the iteration process and allow art directors and animators to crank out quick but nice looking animation previews with soft shadows, depth of field, transparency and indirect lighting. This particular Clip of 177 frames at 30fps, took 2 minutes to create using the Nitrous Realistic Display mode. Comparable Software render times of the same animation took close to 7 minutes to render with comparable looking quality.
MACHINE SPECS: I used an ATI Radeon HD 5700 Series which has 1GB of Dedicated Graphics Memory, and my machine specs are 64Bit Dell Studio XPS 8100, i7 CPU 860 @2.80GHz 2.80GHz, with 8GB of RAM
This video was featured on the CG Channel here: http://www.cgchannel.com/2012/03/sneak-peek-3ds-maxs-updated-nitrous-viewport/ and on Autodesk’s Youtube Channel: http://www.youtube.com/user/3dsMaxSneakPeek
Autodesk wishes to caution you that this video reflects technology research, and that actual events or results could differ materially from the video seen here. Also, this video is not intended to be a promise or guarantee of future delivery of products, services or features but merely reflects technology research, which may change. Purchasing decisions should not be made based upon reliance on this video. Autodesk does not assume any obligation to update any statements we make to reflect events that occur or circumstances that exist after the date of this technology preview.
Cinematic Rendering Tip ~ 3DS Max
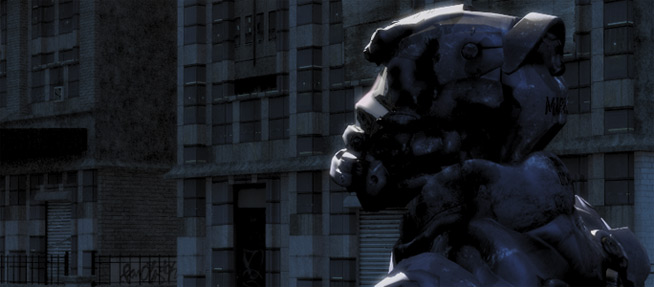
Here is a tip on saving time when rendering 3D scenes for animation. What I usually do is to render my scene with as few lights as possible, limiting to 1 key light and one fill light, this cuts back on the amount of raytracing the 3D program has to do.
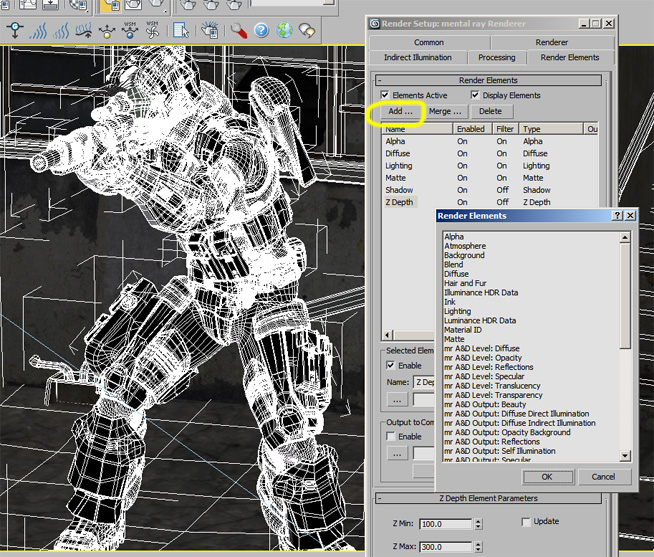
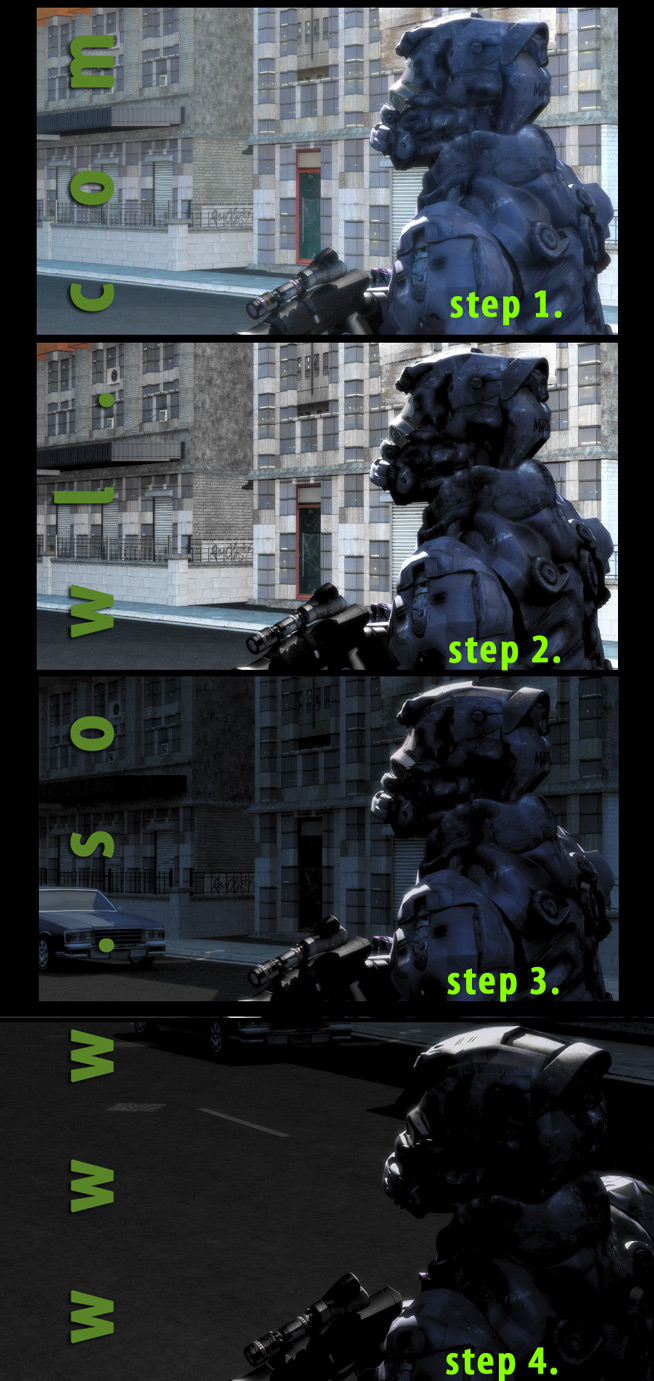
I also render in passes with Alpha Channel, Z-Depth, Reflection, and Motion Vectors as separate files, I then head to After Effects and do the post production there. Here is an example of such an application, and how lighting plays a huge role in setting the mood for a 3D scene. Enjoy.
This particular cinematic was created for a company based in San Francisco, CA. They needed a tense looking scene for a video game cinematic.
